
How to Preserve Roses
My husband and I have been married for almost 20 years now, and every once in a while, I’ll think back to how he proposed.
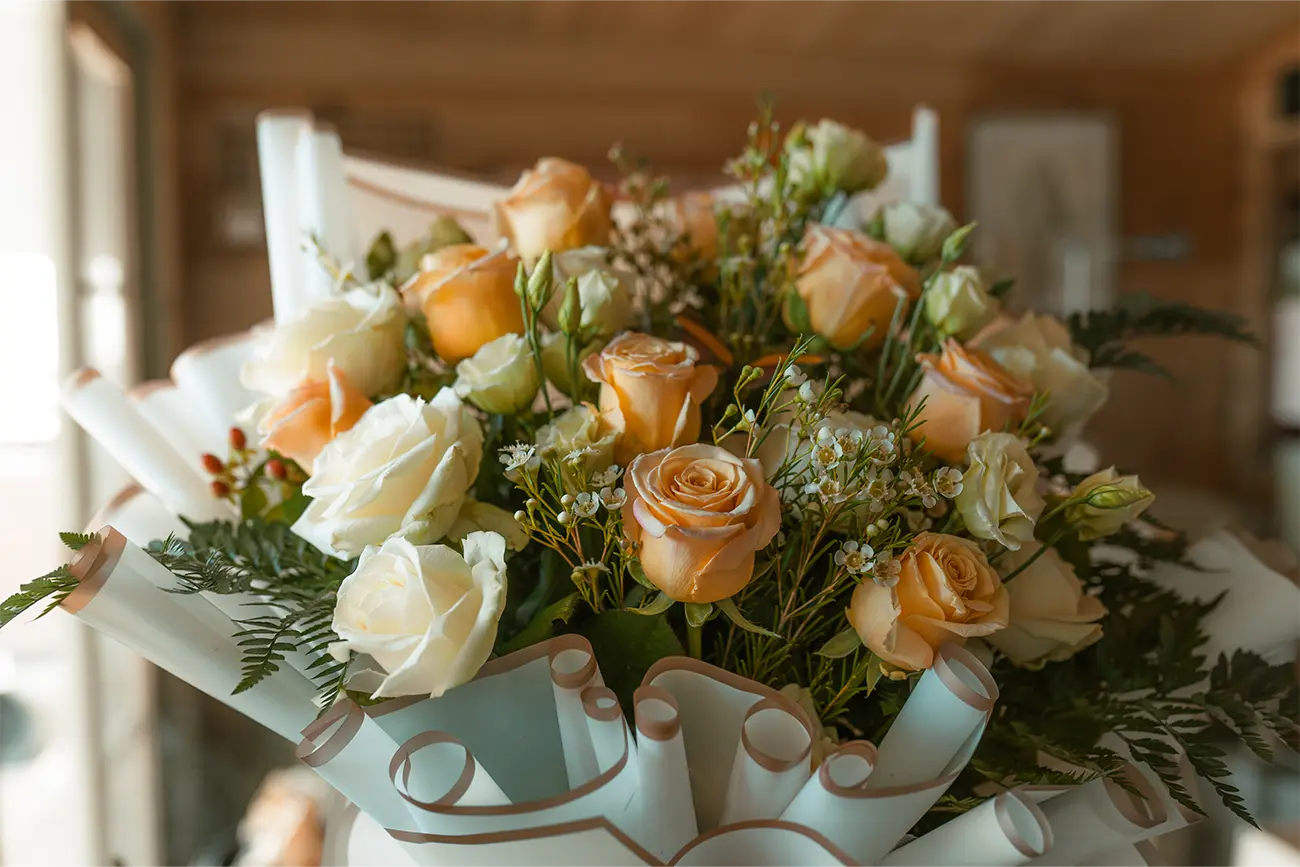
He had worked with a florist (who he’d become good friends with after buying me so many flowers over the year or so we were dating 😉) and together they filled my apartment with more than 300 roses while I was out with a friend.
Of course I wanted to save each and every last one of them!
But at the time, I only knew about air drying and pressing, so I opted for air drying.
Unfortunately, not one of those 300 roses has made it to our 20th anniversary and I can’t imagine how much I’d cherish even just one of them if they had.
So this article is for all of you new romantics out there with stories waiting to be written.
We’ll explore various preservation techniques, from the simplicity of air drying and pressing to the more intricate processes of using silica gel, wax preservation, and the enchanting art of resin preservation.
So regardless of if it’s a first date or a wedding day, these preservation methods will help you to capture the essence of the beautiful memory your roses signify.
Why preserve roses?
Why preserve a rose?
Roses, with their enchanting beauty and profound symbolism, have always held a special place in our hearts.
Their delicate petals, rich colors, and intoxicating fragrance make them more than just flowers; they become cherished memories, tokens of love, and symbols of significant moments in our lives.
But as with all things organic, roses are ephemeral, their beauty fleeting – often leaving us yearning to hold onto them just a little while longer.
Thankfully, there are several tried-and-true methods for preserving roses, each offering a unique way to capture their essence.
Roses, in their fleeting beauty, often become intertwined with our most cherished memories and emotions.
So below are some great reasons to make the effort to preserve them (trust me, it is absolutely worth the effort!).

1. For the sentimental value, of course!
For many, a rose isn’t just a flower; it’s a memory encapsulated. It could be a memento from a first date, a wedding, an anniversary, or even a token of remembrance from a loved one. By preserving these roses, we’re not just saving a flower; we’re holding onto a piece of a cherished moment, allowing us to revisit those feelings and memories whenever we glance at the preserved bloom.
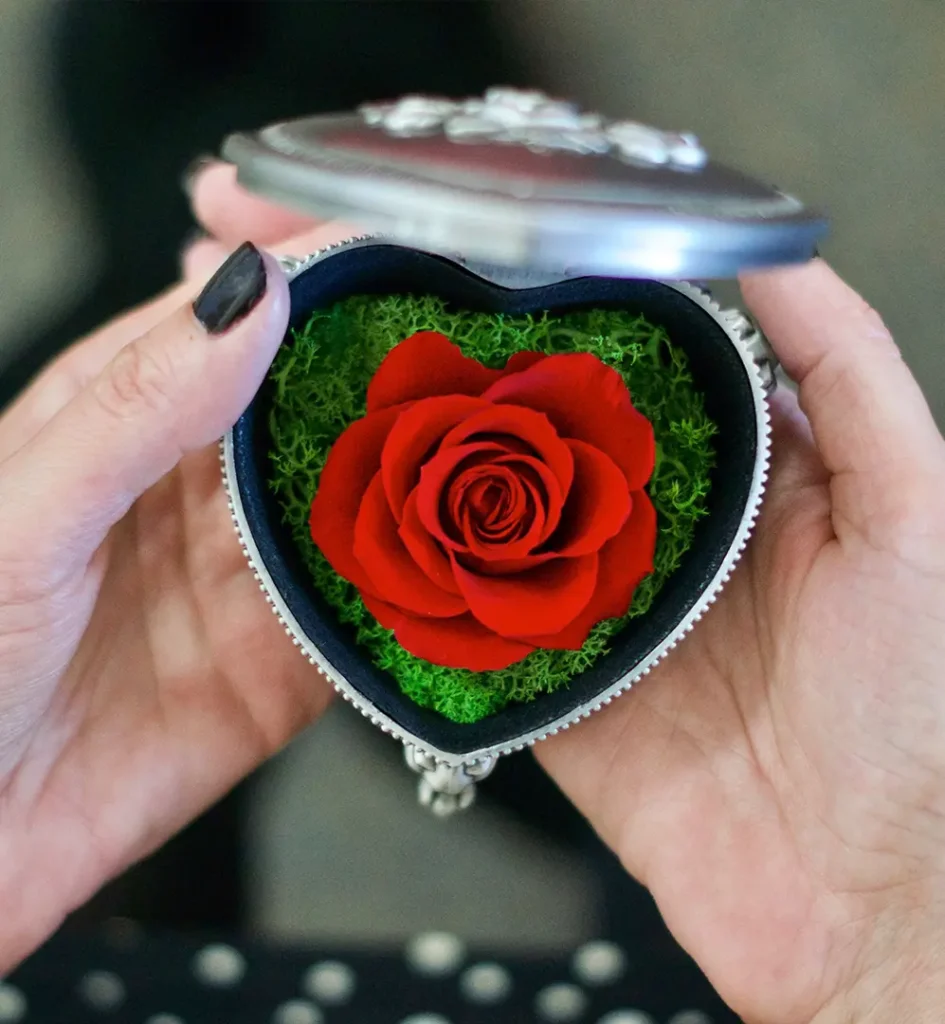
I would love the chance to go back in time and select even just one rose of the 300 I was given by my fiancé (of course I said yes!) to preserve in resin (the longest lasting preservation method).
2. For decorative purposes, too.
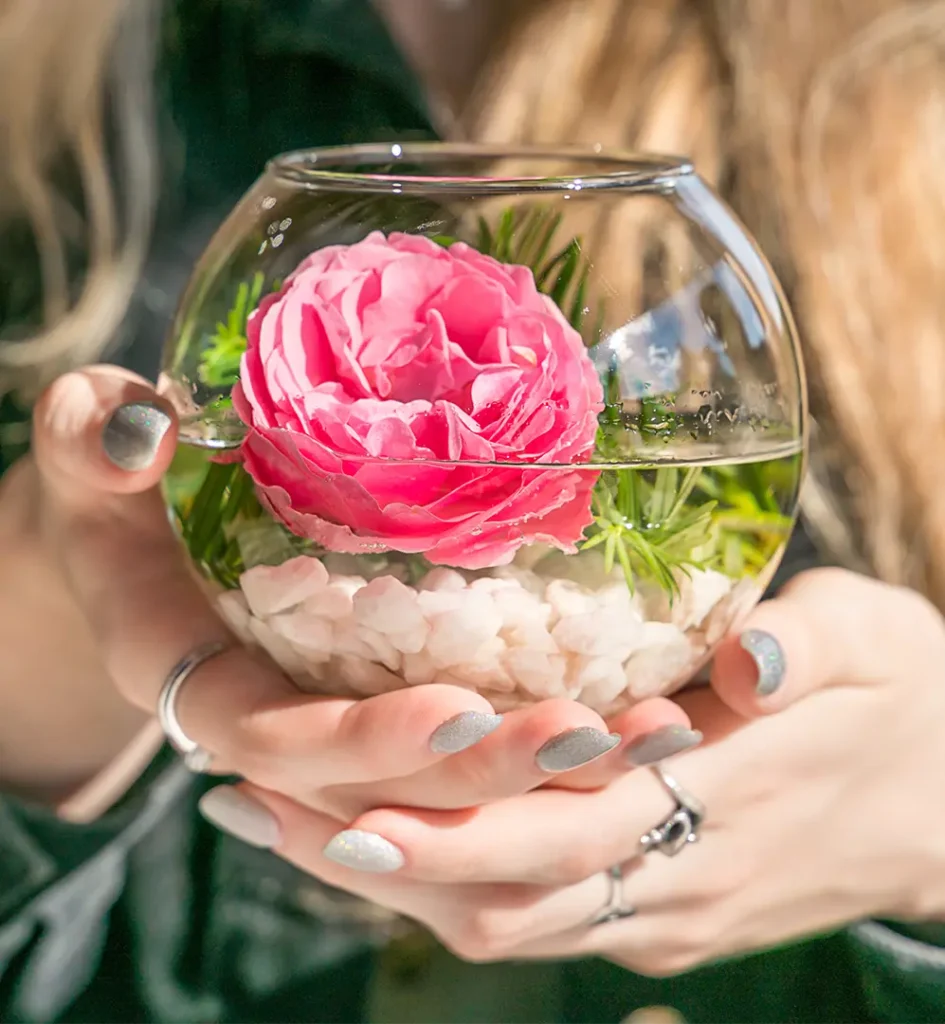
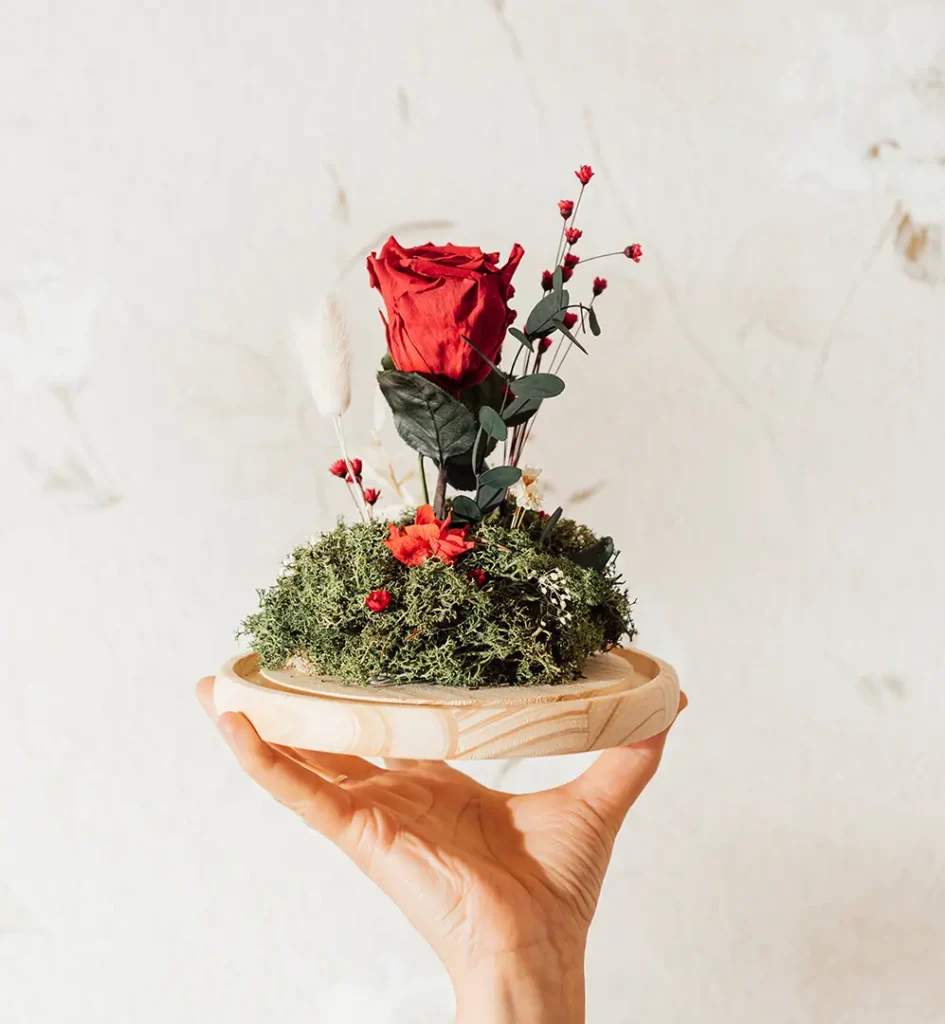
A preserved rose can be a stunning decorative element, adding a touch of elegance and nature to any space. Whether displayed in a shadow box, encased in resin (resin is the most work but delivers the most breathtaking results) on a coffee table, or hung as a dried bouquet, these roses become conversation pieces.
Their timeless beauty can complement various interior styles, from rustic to modern, making them versatile additions to home décor.
3. Preserved roses are great for creative projects.
These everlasting blooms can be incorporated into a myriad of creative projects. Imagine a scrapbook page adorned with a pressed rose from a memorable trip, or a handmade candle with a wax-preserved rose inside, or even jewelry pieces where tiny rosebuds are encased in clear resin.
The possibilities are endless, allowing hobbyists and artists alike to infuse their creations with the natural beauty of roses.
Exploring Methods of Preserving Roses
While the desire to hold onto the beauty of roses is universal, the methods to achieve this can vary.
Each technique offers its own unique charm and result, allowing you to choose the one that best aligns with your purpose and aesthetic preference.
Let’s look at the five most popular methods for preserving roses:
1. Air Drying
This is perhaps the oldest and most straightforward method. Air drying involves hanging roses upside down, resulting in a dried yet beautifully preserved version of the bloom. This method retains the rose’s shape and, to some extent, its color, making it a favorite for rustic décor and vintage-inspired crafts. However, this method offers the least protection for your blooms. In my case, my 300 roses all became dusty, cracked, and crumbled over time (skip to the preserving roses with air drying section).
2. Pressing
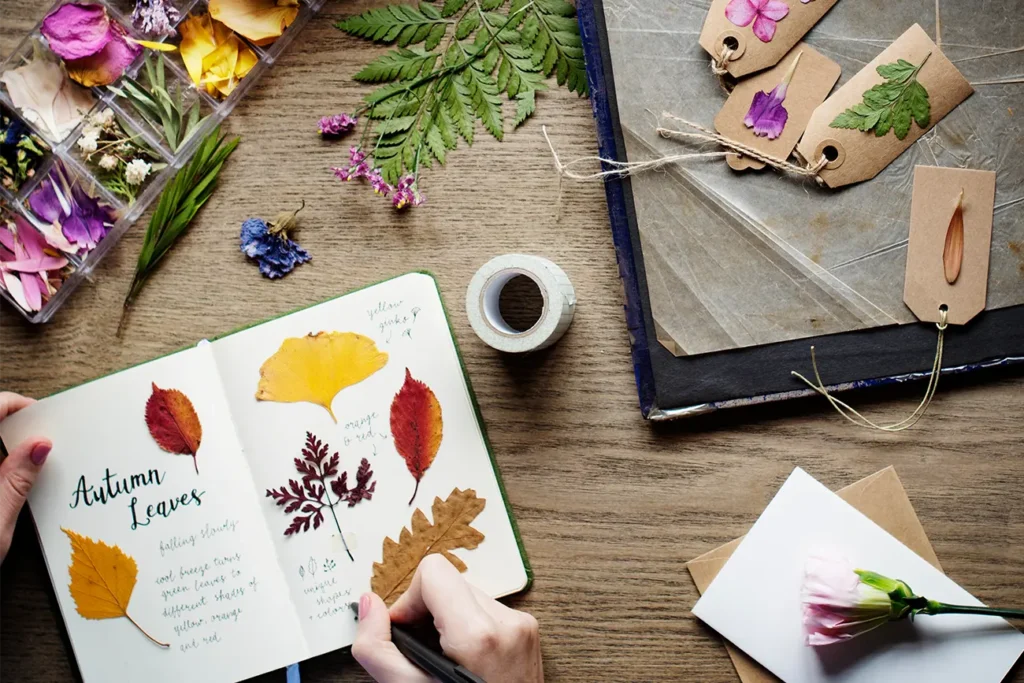
For those who love the delicate appearance of flattened flowers, pressing is the ideal method. By placing roses between the pages of heavy books or in specialized flower presses, the blooms are dried and flattened. Pressed roses are perfect for scrapbooking, card-making, and other paper-based crafts, making this method great for creating wall-art for your home or making greeting cards (skip to the preserving roses by pressing section).
3. Silica Gel
Silica gel, a desiccant, draws moisture out of the rose, preserving its three-dimensional shape and vibrant color. By burying the rose in a container filled with silica gel beads, the flower dries out while retaining much of its original appearance. This method is particularly favored for preserving the intricate details and depth of the rose. However, just as with air drying roses, the color of the rose deepens and the dried flowers can be very delicate (skip to the preserving roses with silica gel section).

4. Wax Preservation
Dipping roses in melted wax creates a protective layer around the bloom, giving it a slightly translucent and dreamy appearance. While this method may not last as long as others, the resulting wax-coated roses have a unique charm, making them perfect for decorative displays and centerpieces. Preserving your roses in wax is a great way to extend the life of a bouquet well past their typical 2-week lifespan (skip to the preserving roses with wax section).

5. Resin Preservation
For a truly long-lasting keepsake, encasing roses in clear resin is the way to go (and the method I’d wished I’d used). This method involves setting the rose in a mold and pouring resin over it, creating a solid, transparent block with the rose inside. The result is a stunning, three-dimensional display of the rose, frozen in time, perfect for tabletop displays or even jewelry (skip to the preserving roses with resin section).
Each preservation method offers a unique way to celebrate and showcase the beauty of roses. Whether you’re looking to capture a memory, create art, or simply enjoy the timeless beauty of a rose for longer, there’s a method tailored for every desire – so lets take a closer look at each one.

How to preserve roses by air drying.
Preserving Roses Through Air Drying
Air drying is one of the most traditional methods of preserving flowers, including roses. It’s simple, requires minimal equipment, and can produce beautiful results. While the roses will lose some of their vibrancy and may become more brittle, they retain a vintage charm that’s perfect for various decorative purposes.
Here’s how to do it:
1. Choose the Right Roses
- Opt for roses that are in their prime or just before full bloom. Avoid roses that are already wilting or have blemishes.
- Freshly cut roses in the morning, when they’re fully hydrated, yield the best results.
2. Prepare the Roses
- Remove any excess leaves from the stem. You can leave a few if you prefer, but remember they will also dry out.
- If there’s any moisture on the petals, gently pat the roses dry with a soft cloth.
3. Group and Tie
- Group 2-3 roses together. While you can dry individual roses, bundling a few together can help them retain a better shape. Plus, it doesn’t hurt to have a few extra dried roses to choose from.
- Use rubber bands or twine to tie the stems together. Remember, as the roses dry, the stems will shrink, so ensure your binding is tight enough to accommodate this.
4. Hang Upside Down
- Find a dark, dry, and well-ventilated area, like an attic, closet, or unused room. Direct sunlight can cause the roses to lose their color faster, so avoid sunny spots.
- Using twine, string, or hooks, hang the bundled roses upside down. This helps the roses retain their shape as they dry.
5. Wait and Check
- Allow the roses to hang undisturbed for two to three weeks. The exact drying time can vary based on humidity and air circulation.
- You’ll know the roses are fully dried when the petals feel papery to the touch.
6. Store or Display
- Once dried, you can store the roses in a box to protect them from dust and light. If displaying them, keep them out of direct sunlight and high humidity areas to ensure they last longer (you could consider using a shadow box to still protect them from dust even if they’re on display).
- Handle with care, as dried roses become fragile and can break easily.
Tips:
- For a more rustic look, consider using dried roses in arrangements with other dried flowers or herbs.
- Spraying dried roses with unscented hairspray can provide a slight protective layer, making them less brittle (be sure to spray at a distance far enough as to not saturate your roses – drips of hairspray on your roses could ruin their appearance)
- While air drying is a straightforward method, it’s essential to remember that the roses will undergo a color and texture change, embracing a vintage, timeless appeal.
How to preserve roses by pressing.
Preserving Roses Through Pressing
Pressing flowers is an age-old technique that flattens flowers and removes their moisture, allowing them to be preserved for years.
While the 3D form of the rose is lost, the result is a delicate, paper-like representation that’s perfect for various crafts and displays.
Here’s how to press roses:
1. Choose the Right Roses
- Opt for roses that are free from blemishes and imperfections. Roses that are slightly before full bloom often press better than fully opened ones.
- Freshly cut roses, especially those picked in the morning when they’re most hydrated, yield the best results.
2. Prepare the Roses
- Gently clean the rose of any dirt or insects. If there’s moisture on the petals, pat the rose dry with a soft cloth.
- For thicker roses, consider splitting them in half or pressing individual petals, as they can be challenging to press whole due to their bulk.
3. Choose Your Pressing Medium
- Heavy Books: If you don’t have a flower press, thick books like dictionaries or encyclopedias will work well. However, not many of us nowadays have heavy books lying around, so you may want to consider buying a press, especially if you’ll be pressing many flowers.
- Traditional Flower Press: These are wooden devices with layers of cardboard and blotting paper. They come with screws at each corner to tighten and press the flowers. A flower press is the best method for getting a beautiful and uniform result.
4. Arrange the Rose
- If using a flower press, place the rose between two sheets of blotting paper, ensuring they don’t overlap.
- If using a book, open the book to its center and lay down a sheet of parchment or wax paper. Place the rose on top, ensuring it’s flat and not folded over. Place another sheet over the rose.
5. Press
- For a flower press: Layer another cardboard piece on top and close the press. Tighten the screws to apply pressure.
- For a book: Close the book and stack additional heavy books or weights on top to apply pressure.
6. Wait
- Leave the rose to press for at least 2-4 weeks. The drying time can vary based on the rose’s thickness and the humidity in your environment.
- Resist the temptation to check on the rose frequently, as this can disturb the pressing process.
7. Carefully Remove and Store
- Once fully pressed, gently remove the rose using tweezers or the edge of a flat tool.
- Store pressed roses in a cool, dry place, preferably between sheets of parchment paper to keep them flat and protected.
Tips
- Pressed roses can be used in scrapbooking, card-making, framed art, bookmarks, and more.
- To preserve the color and prevent yellowing, keep pressed roses out of direct sunlight.
- If you’re pressing multiple roses or flowers, ensure they don’t overlap, as this can cause them to stick together.
How to preserve roses with silica gel.
Preserving Roses with Silica Gel
Silica gel, often found in those small packets accompanying electronics or shoes, is a desiccant that effectively draws out moisture.
When used for flower preservation, silica gel maintains the rose’s three-dimensional shape and vibrant color, making it one of the most preferred methods for those wanting to capture the rose’s natural beauty.
Here’s how to do it:
1. Choose the Right Roses
- Select roses that are at their peak bloom, free from blemishes and imperfections.
- Freshly cut roses, especially those picked in the morning when they’re most hydrated, yield the best results.
2. Gather Materials
- You’ll need a good amount of silica gel, which can be purchased at craft stores or online. The quantity depends on the size of the container and the number of roses you’re preserving.
- An airtight container large enough to fit the roses without them touching each other.
3. Prepare the Roses
- Trim the stem to about an inch or two, or you can remove it entirely based on your preference (in my experience, leaving at least a little bit of stem helps in handling the flower once it’s been dried)
- Gently clean the rose of any dirt or insects. If there’s moisture on the petals, pat the rose dry with a soft cloth.
4. Begin the Preservation Process
- Pour a layer of silica gel at the bottom of the container, about 1-2 inches deep.
- Gently place the rose on top of the silica gel layer, bloom facing upwards.
- Carefully pour more silica gel around the base, sides, and over the top of the rose. Ensure the rose is completely covered and surrounded by the silica gel. Use a tool, like a toothpick, to gently guide the silica gel between the petals, ensuring they’re supported from all sides.
5. Seal and Store
- Tightly seal the container.
- Store it in a cool, dry place away from direct sunlight.
- Let the rose sit in the silica gel for about 1-2 weeks. The exact time can vary based on the rose’s size and moisture content.
6. Uncover and Clean
- After the waiting period, gently pour off the silica gel to reveal the rose.
- Use a soft brush, like a paintbrush or makeup brush, to gently remove any remaining silica gel particles from the rose (be sure that any brush that you use does not have any types of oils still in the bristles).
7. Display or Store
- Your silica gel-preserved rose is now ready to be displayed. Consider placing it in a shadow box, glass dome, or any other protective display to keep it safe.
- If storing, keep it in a box with some silica gel packets to ensure it remains moisture-free.
Tips:
- Silica gel can be reused. If it’s saturated with moisture after a preservation process, you can dry it out in the oven and use it again.
- Handle the preserved rose with care, as it can be fragile.
- For a more vibrant look, some people choose to spray the preserved rose with clear acrylic spray, which can enhance its color and offer a slight protective layer. As with the hairspray method in air drying, be sure to spray at enough distance to not drip acrylic on your roses.
How to preserve roses with wax.
Preserving Roses with Wax
Wax preservation offers a unique way to extend the life of fresh roses, giving them a slightly translucent and dreamy appearance.
While not as long-lasting as some other methods, wax-preserved roses exude a charm that’s perfect for short-term displays or special occasions.
Here’s how to do it:
1. Choose the Right Roses
- Select roses that are at their peak bloom, free from blemishes and imperfections.
- Freshly cut roses, especially those picked in the morning when they’re most hydrated, yield the best results.
2. Gather Materials
- Paraffin wax or candle wax. Some people mix a bit of beeswax for added flexibility.
- A double boiler or microwave-safe container for melting the wax.
- A thermometer to monitor the wax temperature (optional but helpful).
- Tongs or tweezers to hold the rose during the dipping process.
3. Prepare the Rose
- Ensure the rose is clean and free from any water or moisture. If you’ve just picked the rose, let it air dry for a few hours.
- You can trim the stem to your desired length or trim the stem after. I prefer trimming the stem afterwards because it makes it easier to work with each rose.
4. Melt the Wax
- Using a double boiler, melt the paraffin wax. If you’re using a microwave, melt the wax in short intervals, stirring in between to ensure even melting.
- Monitor the temperature if possible. Ideally, the wax should be around 130°F to 150°F (54°C to 65°C) for best results.
5. Dip the Rose
- Hold the rose by its stem using tongs or tweezers.
- Gently dip the entire rose into the melted wax, ensuring all parts are coated.
- Slowly pull the rose out, allowing any excess wax to drip back into the container, continuing to rotate the rose as the wax drips off.
6. Allow to Dry
- Hold the rose or hang it upside down, allowing the wax to cool and set. Alternatively, you can pass the rose in a bottle with a slender neck to help the rose maintain it’s form as the wax dries. The cooling time typically takes a few minutes.
- Ensure the rose doesn’t touch any surfaces while drying to prevent flattening or impressions on the wax.
7. Store or Display
- Once the wax has set, your rose is ready to be displayed. Keep it in a cool, dry place away from direct sunlight to maintain its appearance.
- Handle with care, as the wax can be delicate and may chip or crack if mishandled.
Tips
- For a slightly glossy finish, consider adding a small amount of mineral oil to the melted wax.
- Wax preservation is more temporary compared to methods like silica gel or resin. It’s best for short-term displays or occasions. However, some that have tried this method, claim that their roses have maintained nearly their original appearance years later. So results may vary.
- If you notice bubbles or imperfections after the first dip, you can dip the rose a second time after the initial layer has cooled.
How to preserve roses in resin.
Preserving Roses with Resin
Encasing a rose in resin transforms it into a lasting keepsake, capturing its beauty in a clear, solid form.
This method not only preserves the rose but also turns it into a decorative piece that can be displayed in various ways.
Here’s how to preserve roses in resin:
1. Choose the Right Roses
- Select roses that are at their peak bloom, free from blemishes and imperfections.
- Freshly cut roses, especially those picked in the morning when they’re most hydrated, yield the best results.
2. Gather Materials
- Clear epoxy resin and hardener.
- A mold of your choice (silicone molds are popular due to their flexibility and ease of demolding).
- Mixing containers and stir sticks.
- Gloves and protective eyewear for safety.
- A well-ventilated workspace (while the finished, hardened, version of resin is generally safe, uncured resin is toxic, so keep it away from children and pets).
3. Prepare the Roses
- The rose must be completely dry before encasing it in resin. Any moisture can cause the resin to become cloudy or not set correctly. Consider drying the rose using silica gel or air drying to retain its three-dimensional shape (keeping in mind that drying will change its appearance).
- Trim the stem to your desired length or remove it entirely (with this method, the stem cannot be trimmed afterwards).
4. Mix the Resin
- In a well-ventilated area, wearing gloves and protective eyewear, mix the epoxy resin and hardener according to the manufacturer’s instructions. Ensure you stir thoroughly to avoid any soft spots in the final product (and remember to keep the mixture away from kids and pets).
5. Pour the Base Layer
- Pour a thin layer of the mixed resin into the mold. This will act as the base for the rose.
- Allow this layer to become tacky but not fully set (usually a few hours, but follow the resin instructions).
6. Position the Rose
- Once the base layer is tacky, gently place the rose into the mold, ensuring it’s positioned as desired and not touching the sides.
7. Pour the Remaining Resin
- Slowly pour the mixed resin over the rose, ensuring it’s fully submerged and there are no air bubbles. If bubbles appear, you can pop them using a toothpick or by gently blowing on them.
- Fill the mold to the desired level.
8. Allow to Cure
Let the resin cure in a dust-free environment for the time specified by the manufacturer, typically 24-72 hours. Some resins might require longer curing times.
9. Demold and Finish
- Once fully cured, gently remove the resin-encased rose from the mold. Silicone molds make this process easier due to their flexibility.
- If there are any sharp edges or imperfections, sand them down using fine-grit sandpaper. For added shine, polish the resin with a clear wax or resin polish.
Tips:
- Work in a well-ventilated area and always use protective gear when working with resin.
- Keep in mind that unmixed and unhardened resin is toxic, so keep it away from children and pets.
- Ensure the rose is entirely dry before encasing it in resin to prevent cloudiness.
- If you want to add color or effects to the resin, consider using tints or glitters. However, for a clear view of the rose, use uncolored resin.

Conclusion
Roses, with their ethereal beauty and deep symbolism, have long been cherished tokens of memorable moments. Their fleeting nature often leaves us yearning for ways to make their beauty endure.
Thankfully, through methods like air drying, pressing, silica gel, wax, and resin preservation, we can capture the essence of these blooms, allowing them to transcend their natural lifespan.
Each technique offers its own unique charm, ensuring there’s a method tailored for every desire and purpose. Whether you’re looking to immortalize a special occasion, create a decorative piece, or embark on a creative project, preserving roses offers a way to hold onto the beauty of nature a little longer.
As with all endeavors, it’s essential to approach each method with care, patience, and a touch of creativity, ensuring that the preserved rose remains a testament to the timeless allure of this iconic flower.